Want to create a professional-looking and sounding podcast studio without breaking the bank? Here are some top tips for equipment to start a podcast, recording space, and techniques to get you started.
So, you’ve got a great podcast idea, but the thought of investing in expensive equipment might be holding you back. This is a common concern for many aspiring podcasters. However, you can create a professional-sounding podcast studio with some creativity and resourcefulness without breaking the bank.
In this guide, we’ll provide you with practical tips and advice on how to set up your home podcast studio on a budget. These will prove helpful for both DIY and part-time podcasters as well as professionals. We’ll cover everything from essential equipment to recording techniques and soundproofing. These insights are mostly based on our expertise in producing various professional podcasts for our clients.
So, dive in!
Table of Contents
Step1: Gear Up for Great Audio: Essential Tools for Your DIY Podcast Studio
Let’s face it: fancy equipment can be a major barrier to entry for aspiring podcasters. But fear not! You can create a surprisingly professional-sounding podcast setup on a budget.
Here’s a look at the podcast recording essentials you’ll need to get started:
1. Capture Crystal-Clear Audio: Your Microphone Matters
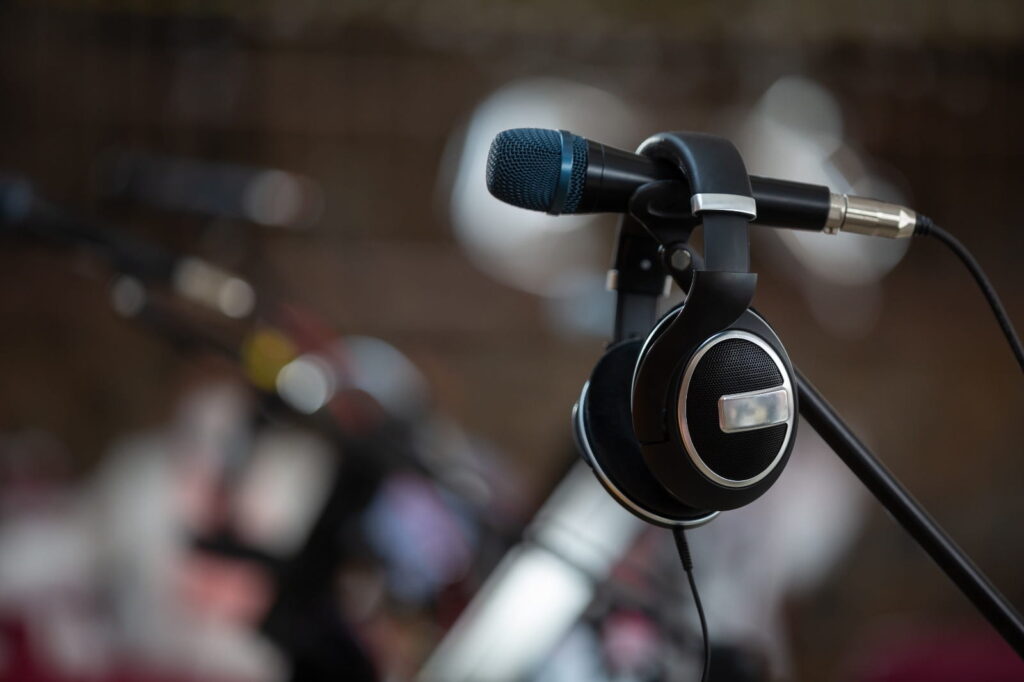
While a high-end microphone can definitely elevate your audio quality, you don’t need to spend a fortune right off the bat.
A USB microphone is a fantastic option for beginners, offering plug-and-play simplicity and decent sound capture. Look for one with a cardioid pattern. This fancy term basically means the microphone picks up sound primarily from the source directly in front of it (i.e., your voice), minimising unwanted background noise. Here are some popular budget-friendly USB microphones to consider:
- Blue Yeti: The Blue Yeti is a popular USB microphone for podcasters. It offers multiple recording patterns for flexibility. Its sturdy build and clear audio quality make it a reliable choice for home studios.
- Shure: Shure offers a range of professional-grade microphones for podcasters, known for their superior sound quality and durability. Whether you’re a solo podcaster or part of a team, Shure has a microphone to elevate your audio.
- Rode: Rode microphones are popular among podcasters for their excellent value and clear audio capture. Their range of microphones cater to different needs and budgets, making them a versatile choice.
- Samson Q2U: The Samson Q2U is a versatile, dynamic microphone suitable for podcasting. Its warm, rich sound and durable build make it a reliable option for both home and studio setups.
2. Hear Yourself Loud and Clear: Essential Headphones
Here’s something many podcasters don’t know: Any headphones will do, even your daily basic pair. This is important only for audio podcasts and editing.
It allows you to ensure you’re speaking at the right volume and catching any background noise or sound issues you might need to address later.
If possible, opt for closed-back headphones that create a seal around your ears. This effectively blocks out external sounds and prevents audio leakage from your headphones into your microphone.
Here are some other features to consider when choosing headphones for podcasting:
- Comfort: You might wear these for long recording sessions, so comfort is key.
- Sound Isolation: Look for headphones with good passive noise cancellation to block out distractions.
- Durability: Choose a pair that can handle regular use.
3. Free Software Solutions: Powerful Tools for Recording and Editing
The world of podcasting software is surprisingly generous. There are several excellent free options available that offer all the basic functionality you need to record, edit, and export your podcast. Here are a few popular choices:
- Audacity: This open-source software is a favourite among beginners for its user-friendly interface and wide range of editing features.
- Descript: This is what we use for our first-level content edit at CrazyTok. Descript is a cloud-based audio and video editing platform that offers a unique approach to editing by allowing you to edit audio and video as if they were text. This makes it easier to make changes, add captions, and collaborate.
- GarageBand (Mac Only): This free audio editing software from Apple comes pre-installed on Macs and offers a user-friendly interface with basic recording and editing tools.
If you’re on a budget, you can consider Audacity or GarageBand. However, for editing, we would always recommend Descript. It has come in super handy to accomplish our high-quality editing without any glitches in our production process. (To learn more about our capabilities and how we can help produce your podcast, check out our complete list of podcast services)
Step 2: Build Your Sonic Sanctuary: Choosing a Recording Space
So, those are the essential tools you’ll need to start. With these you’ll be well on your way to creating a professional-sounding podcast on a budget. Remember, the most important thing is to have a great concept and engaging content.
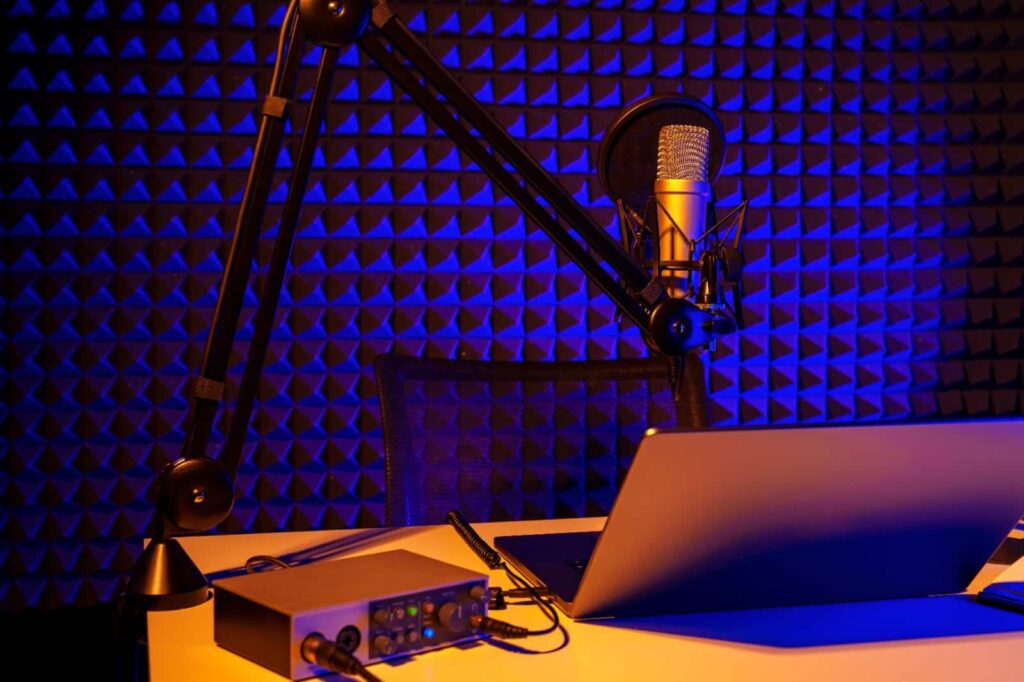
Also, to craft podcast episodes that will truly capture everything you want to say and the attention of your audience, you need the right recording space. Here are a few things to keep in mind for a podcast recording space on a budget:
1. Find Your Sweet Spot
The acoustics of your recording space can make or break your podcast’s audio quality. Here’s how to find the perfect spot to capture your voice in all its glory:
- Seek out a quiet room in your home, ideally one away from high-traffic areas like hallways or living rooms.
- Close windows and doors to block out external noise. If you live on a busy street, consider investing in soundproofing curtains. These thick curtains can significantly dampen outside noise and create a more peaceful recording environment.
2. Get Rid of Any Echo Chamber
Echoes can be a major distraction for your audience. Let’s explore how to eliminate them from your recording space and improve your audio quality.
- Avoid rooms with hard, bare surfaces like tile floors or exposed brick walls. These surfaces reflect sound waves, creating an echo effect that can be distracting for listeners.
- Soften the blow by adding sound-absorbing materials to your recording space. Thick rugs, upholstered furniture, and even strategically placed blankets can all help to absorb sound waves and reduce echo.
Bonus Tip: Experiment with different recording locations in your home. You might be surprised that a walk-in closet or a carpeted basement offers the best acoustics!
Step 3: Mic Check, One, Two: Perfecting Your Microphone Placement
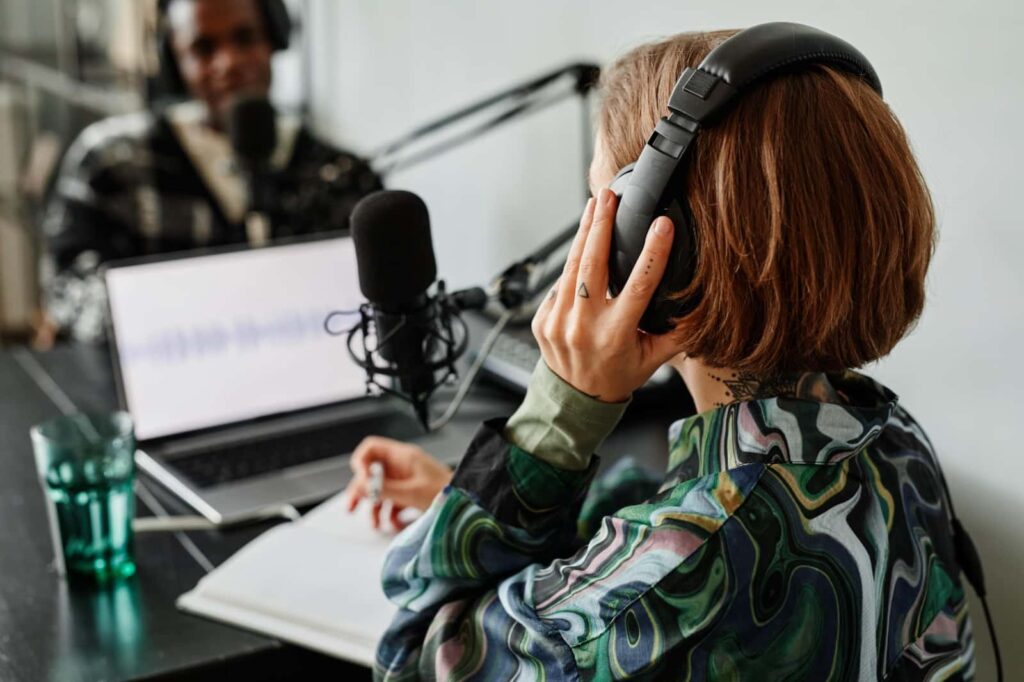
The placement of your microphone can dramatically impact the quality of your voice recording. Here’s how to position your mic for optimal sound:
1. Your Best Bet is 6 Inches Away
Generally, aim to position your microphone approximately 6 inches away from your mouth. This is the “sweet spot” where your voice will be captured clearly without sounding distant or muffled.
2. Comfort is Key
Listen back to the recordings and choose the placement that sounds best to your ears. By opting for a boom-arm placement, positioning your microphone can get easier.
Pro Tip: If you’re using a pop filter (a small mesh screen placed in front of the microphone), properly position it between your mouth and the microphone.
Step 4: Light Up Your Show: Essential Considerations for Podcast Lighting
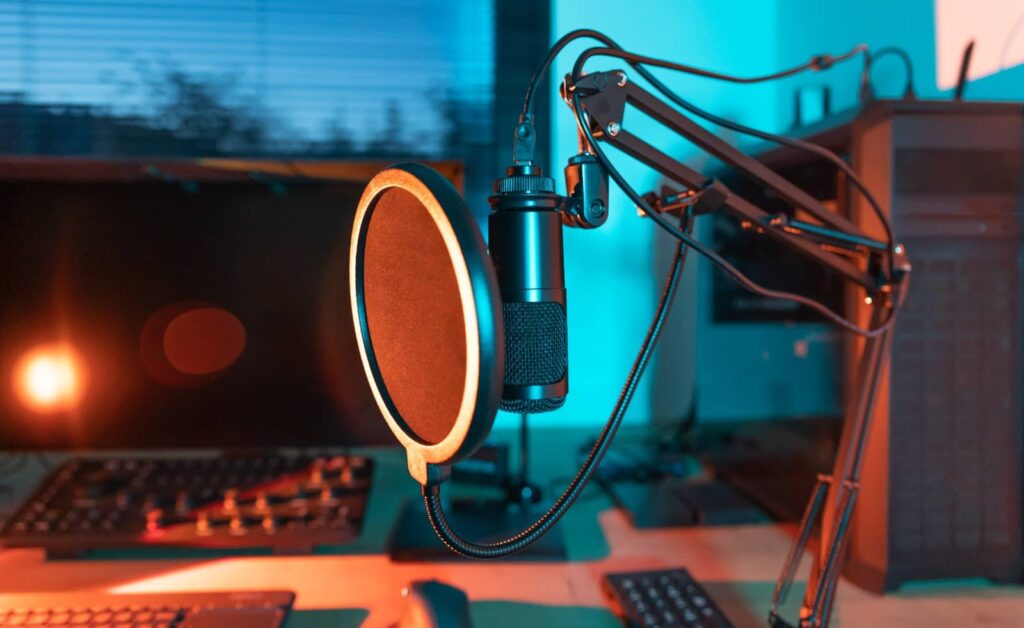
While lighting might not be the first thing that comes to mind when considering podcasting, it’s crucial for video podcasts. Here’s how to illuminate your recordings:
1. Embrace the Natural Glow
Natural light is always the best option for podcast lighting. If you have a window in your recording space, position yourself facing it for a soft, flattering light source. However, avoid direct sunlight, which can create harsh shadows and uneven lighting.
2. Shine Bright at Night
If you primarily record at night or don’t have access to natural light, consider using an artificial light source. A simple desk lamp may not provide adequate lighting.
3. Opt for Ring Lights
For a more professional look, consider investing in a ring light. These circular lights provide even, flattering lighting that eliminates shadows. Ring lights come in various sizes and price points, so you can find one that fits your budget and needs.
Bonus Tip: Experiment with different lighting colours and temperatures to create the desired mood and ambience for your podcast. Warmer lighting can create a more relaxed feel, while cooler lighting can lend a more professional air. If you have a setting of ‘warm white’, that’s your best bet for a look that comes close to natural light.
Step 5: Setting the Stage: Selecting the Perfect Background
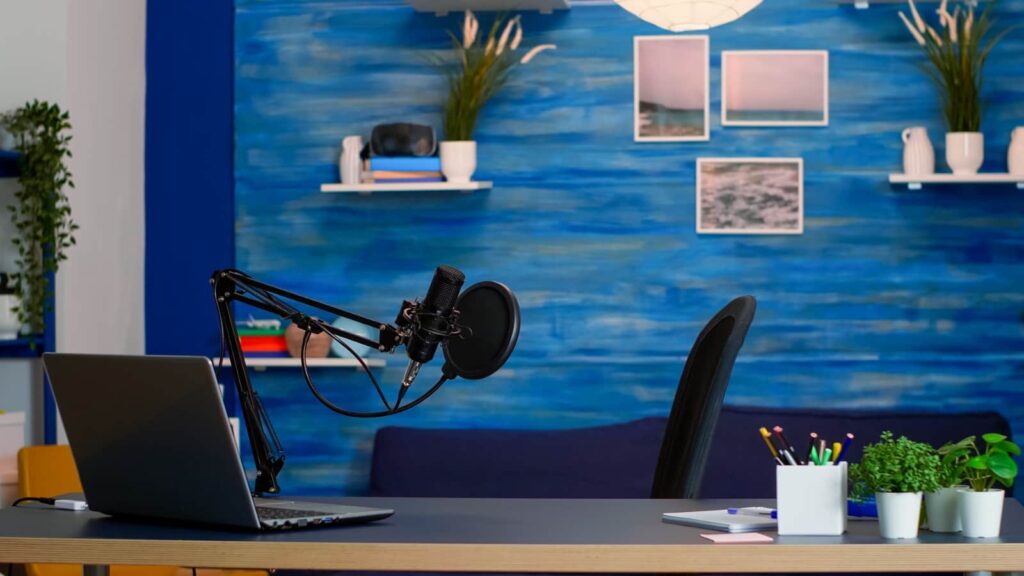
The background of your video podcast can add an interesting visual element to your show and help to set the tone. Here’s how to choose the right backdrop:
1. Keep it Clean and Simple
- A clutter-free background is always best. Avoid busy patterns or distracting objects that might draw viewers’ attention away from you and your co-host(s).
- Opt for a solid-coloured backdrop, such as a white or grey wall. This creates a clean and professional look that won’t compete with your on-screen presence.
2. Go for a Green Screen as a Last Option
- If you don’t have a suitable physical backdrop, consider using a green screen while recording. However, this should not be your go-to, as real backgrounds are always more engaging and add to the authenticity of the podcast.
- Another word of caution: Proper lighting and chroma keying are crucial to ensure a seamless background replacement. Poorly executed green screen effects can distract listeners and reduce the overall production quality. If you’re unsure about the technical aspects, a simpler setup with a well-lit, visually appealing background might be more effective.
Bonus Tip: If you’re using a physical backdrop, consider adding a touch of personality with a relevant prop or piece of artwork. This can help to visually represent your podcast’s theme without being overwhelming.
Conclusion
Starting a podcast doesn’t have to be expensive. By following these tips, you can create a professional-sounding studio on a budget. Remember, the most important thing is to have fun and share your unique voice with the world.
While it’s tempting to get caught up in the latest gear and gadgets, remember that the true heart of a podcast is its content. A great podcast idea, engaging storytelling, and valuable insights can overcome even the most modest production values.
Don’t feel pressured to have everything perfect from the start. Start with the basics and gradually add a more affordable podcast setup as your show grows and your budget expands. Consider joining a podcast community for valuable support, advice, and inspiration. (We have one too! Do join in or contact us for more details.) Most importantly, have fun and enjoy the process!

